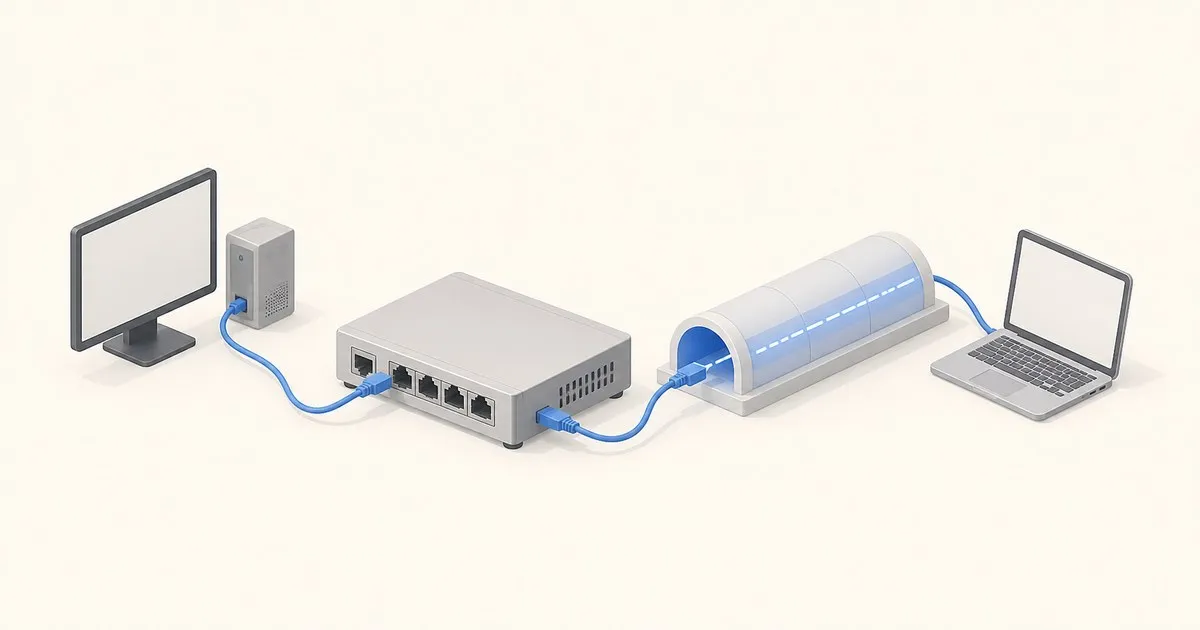
How to Set Up WireGuard VPN on pfSense: Step-by-Step Guide
Set up WireGuard VPN on pfSense step by step: install the package, create the tunnel, add peers, assign the interface, and write the firewall rules.
This guide covers how to set up WireGuard VPN on pfSense from a clean install: getting the package in place, building the tunnel, defining a peer, assigning the interface, and writing the firewall rules that actually let traffic through. WireGuard on pfSense uses a tunnel-and-peer model rather than the connection-oriented model OpenVPN admins are used to, and most setup failures trace back to one of two things: a missing interface assignment, or a firewall rule that never got written because the interface was never assigned. Work through the steps below in order and you avoid both.
Prerequisites
Before touching the WireGuard menu, confirm three things:
- A reachable WAN. WireGuard listens on a UDP port (51820 by default) that has to be reachable from wherever your clients connect. If pfSense sits behind carrier-grade NAT (common on cellular and some fiber ISPs), you need a port forward on the upstream device or this won’t work at all.
- A stable endpoint. Clients need an IP address or hostname to connect to. If your WAN IP isn’t static, set up Dynamic DNS under System > Dynamic DNS before you configure client files, so you’re not editing every config later.
- A free, non-overlapping subnet. Pick an address range for the tunnel interface that doesn’t collide with your LAN, any other VLAN, or a site you connect to remotely.
Step 1: Install the WireGuard package
WireGuard ships as an installable package rather than a base-system feature. Go to System > Package Manager > Available Packages, search for WireGuard, and click Install. Once it finishes, a new VPN > WireGuard menu appears, according to the official pfSense WireGuard documentation.
Netgate’s docs describe WireGuard as operating “completely in the kernel,” which is a meaningful architectural difference from OpenVPN: there’s no persistent session state, no built-in user authentication, and configuration lives directly on the interface rather than in a separate daemon config. That simplicity is also why WireGuard performs close to hardware-accelerated IPsec despite running entirely in software.
Step 2: Create the WireGuard tunnel
Navigate to VPN > WireGuard > Tunnels and click Add Tunnel:
- Enable: checked
- Description: something identifiable, e.g.
WG_Remote - Listen Port:
51820(the WireGuard default; change it only if you have a specific reason to) - Interface Keys: click Generate to create the tunnel’s public/private keypair
- Interface Addresses:
10.50.60.1/24(or whatever unused subnet you picked)
Save. This tunnel address is the pfSense side’s IP inside the WireGuard network — not your LAN IP.
Step 3: Add a peer
A “peer” is any device that will connect to this tunnel: a laptop, a phone, or another firewall in a site-to-site setup. Under VPN > WireGuard > Peers, click Add Peer:
- Tunnel: the tunnel created in Step 2
- Description: e.g.
Laptop-Remote - Dynamic Endpoint: checked, if the client’s IP changes (typical for road-warrior clients); unchecked with a fixed Endpoint field for a peer with a known static address
- Public Key: the client’s public key (generate on Linux/macOS with
wg genkey | tee privatekey | wg pubkey > publickey, or let the mobile app generate one) - Allowed IPs:
10.50.60.2/32— a single address inside the tunnel subnet, unique per peer
The remote-access configuration example in Netgate’s documentation is worth reading in full here, since Allowed IPs is the field most people get wrong: on the server-side peer entry it defines what source address that specific peer is allowed to use, not what networks it can reach. Putting a LAN subnet here instead of the peer’s single tunnel address breaks WireGuard’s cryptokey routing.
Step 4: Assign the interface
Go to Interfaces > Assignments, select the WireGuard tunnel from the dropdown, click Add, then open the new interface and enable it. This step gets skipped constantly because a WireGuard tunnel can technically pass some traffic without it — but without an assigned interface there’s no tab under Firewall Rules to write rules against, and no way to apply outbound NAT to the tunnel subnet cleanly.
Step 5: Write the firewall rules
Two separate rule sets are required.
On Firewall > Rules > WAN, allow the tunnel’s listen port in from the internet:
Action: Pass
Protocol: UDP
Destination: WAN address
Destination port: 51820
On Firewall > Rules > [WireGuard interface], allow traffic from the tunnel subnet to wherever it needs to go:
Action: Pass
Protocol: Any
Source: WireGuard tunnel subnet
Destination: LAN subnet (or specific hosts/ports if you want it tighter)
Skip either rule set and you get a tunnel that establishes a handshake but passes no traffic — a very common support-forum complaint that’s really just a missing rule.
Step 6: Build the client configuration
On the client, create a .conf file (or scan a QR code from it, for mobile apps):
[Interface]
PrivateKey = <client private key>
Address = 10.50.60.2/32
DNS = 192.168.1.1

[Peer]
PublicKey = <pfSense tunnel public key from Step 2>
Endpoint = your-wan-ip-or-ddns-hostname:51820
AllowedIPs = 192.168.1.0/24, 10.50.60.0/24
PersistentKeepalive = 25
AllowedIPs here is the client-side field, and it means something different than the server-side field in Step 3: it defines which destination networks the client routes into the tunnel. List your LAN subnet for split-tunnel access, or use 0.0.0.0/0, ::/0 to route all client traffic through pfSense.
Step 7: Verify the connection
From the pfSense console or over SSH, run:
wg showA peer entry with a recent handshake timestamp and non-zero transfer counters means the tunnel itself is working. From there, ping the pfSense LAN IP from the client, then a real LAN host, to confirm routing and firewall rules are both correct. If the handshake never appears, the problem is almost always upstream — the WAN rule, a port forward on a device in front of pfSense, or a stale endpoint address in the client config. This same tunnel is the recommended way to reach the web GUI remotely without ever exposing it to the internet, as the pfSense initial setup hardening checklist spells out.
Troubleshooting, in diagnostic order
Work from the outside in, because each step isolates a layer:
- No handshake at all. Almost always the inbound path: the WAN firewall rule isn’t passing UDP to the listen port, the upstream router or CGNAT is dropping it, or the client’s
Endpointis wrong or stale. UDP does not port-scan usefully, so rely on the handshake timestamp and check the pfSense firewall log for the inbound packets. - Handshake succeeds but no traffic passes. This is a routing and rules problem, not a crypto one. Check three things: the WireGuard-interface firewall rule allows the client subnet to the destinations you want; the client’s
AllowedIPsincludes the LAN subnet you are trying to reach; and Outbound NAT covers the WireGuard subnet if LAN hosts have no route back. The simplest fix for “I can ping the firewall but not LAN devices” is hybrid Outbound NAT translating the WireGuard subnet on the LAN interface, or static routes and host firewalls that accept the WireGuard range. - Works on Wi-Fi but not cellular, or the reverse. Usually a missing
PersistentKeepaliveon a NAT’d client, or an MTU issue. Try lowering the client interface MTU to around 1380–1420 if large packets stall while the handshake works. - DNS doesn’t resolve over the tunnel. The client
DNS =must be a resolver reachable through the tunnel (normally the pfSense LAN IP), and the pfSense DNS Resolver must accept queries from the WireGuard subnet under Services > DNS Resolver > network ACLs.
wg show is the single best diagnostic: a recent handshake plus incrementing rx/tx confirms the tunnel itself, and the absence of either points you at the layer above.
When a road-warrior tunnel is the wrong approach
If your ISP uses CGNAT and you cannot get an inbound port or a forwarded endpoint, a self-hosted listening VPN simply will not work. A managed mesh or overlay network, which uses an outbound-initiated relay, or a small public relay host, is the right tool instead, and forcing WireGuard here wastes hours. If you only need occasional access to a single web service, an authenticated reverse proxy may be simpler than a full VPN.
Full-tunnel mode (AllowedIPs = 0.0.0.0/0) routes all client traffic through home, which is excellent on a hostile network but adds latency and depends on your home uplink. Use split-tunnel with LAN subnets only unless you specifically want every packet to egress via home.
WireGuard throughput is bound mostly by AES-NI and single-core speed, so if a saturated gigabit tunnel matters, pick a box with the headroom described in the best hardware for pfSense guide. If you are still weighing protocols, the OpenVPN vs WireGuard comparison covers throughput, the Plus-only DCO offload, and the auth features that still favour OpenVPN.
Related across the network
- VPN vs Tor vs Proxy: What Actually Protects Your Privacy — anonguide.com
- Zero Trust Access and Tunnels Instead of VPN Ingress — cloudflarezerotrust.org
Related on this site
Sources
Related

How to Set Up an OpenVPN Server on pfSense
Run the pfSense OpenVPN wizard end to end: CA and server certificate, a tunnel network that will not collide, firewall rules, and client export.

OpenVPN vs WireGuard on pfSense: Performance and Features
This pfSense comparison covers OpenVPN and WireGuard throughput, CPU use, edition support, Plus-only DCO, authentication, TCP fallback, and roaming.

pfSense Port Forwarding Not Working? Fix It Step by Step
Nine ordered checks for a pfSense port forward that passes nothing: rule destination, private or CGNAT WAN address, target gateway, reflection.